How To Create an Activity For Your App using Eclipse
In this Tutorial, you will be Learning ,
How to create and start a new activity?
Here you go!!!!
Before creating an android application using Eclipse, let us see some of the key terms involved in this application.
Key terms involved in this project:
Activity: An activity provides a user interface for a single screen in your application. The window typically fills the screen, but may be smaller than the screen and float on top of other windows. An application usually consists of multiple activities that are loosely bound to each other. Each time a new activity starts, the previous activity is stopped, but the system preserves the activity in a stack (the “back stack”). When a new activity starts, it is pushed onto the back stack and takes user focus.
The tutorial helps you to create your first android activity. This project is developed in Eclipse 4.2 (Juno) and tested with Android 2.2
If you are new to new to android application project, to create a new project in Eclipse refer Creation of Android Project.
Now let’s go to the coding section.
Coding:
Now let’s go to the coding section. This project requires following files.
Source Code:
- Createactivity.java
Activity Files:
- activity_createactivity.xml
res – Values:
- strings.xml
Manifest file:
- AndroidManifest.xml
Here is the coding for the above files.
Createactivity.java:
package com.simplecodestuffs.activity; // activity package
import android.os.Bundle; //A mapping from String values to various Parcelable types.
import android.app.Activity; // Required to create an activity.
import android.view.Menu; // Interface for managing the items in a menu.
public class Createactivity extends Activity {// all classes extends activity
	@Override
	protected void onCreate(Bundle savedInstanceState) {
		super.onCreate(savedInstanceState);
// displays activity create activity when app starts
		setContentView(R.layout.activity_createactivity);
	}
	@Override
	public boolean onCreateOptionsMenu(Menu menu) {
		// Inflate the menu; this adds items to the action bar if it is present.
		getMenuInflater().inflate(R.menu.activity_createactivity, menu);
		return true;
	}
}
activity_createactivity.xml:
<LinearLayout xmlns:android="http://schemas.android.com/apk/res/android"
    android:layout_width="fill_parent"
    android:layout_height="fill_parent"
    android:orientation="vertical" >

    <Button
        android:id="@+id/button1"
        android:layout_width="wrap_content"
        android:layout_height="wrap_content"
        android:text="First activity success" />

</LinearLayout>
Menu.xml:
<menu xmlns:android="http://schemas.android.com/apk/res/android" >

    <item
        android:id="@+id/menu_settings"
        android:orderInCategory="100"
        android:title="@string/menu_settings"/>

</menu>
Android Manifest.xml:
<?xml version="1.0" encoding="utf-8"?>
<manifest xmlns:android="http://schemas.android.com/apk/res/android"
    package="com.simplecodestuffs.activity"
    android:versionCode="1"
    android:versionName="1.0" >

    <uses-sdk
        android:minSdkVersion="8"
        android:targetSdkVersion="8" />

    <application
        android:allowBackup="true"
        android:icon="@drawable/ic_launcher"
        android:label="@string/app_name"
        android:theme="@style/AppTheme" >
        <activity
            android:name="com.simplecodestuffs.activity.Createactivity"
            android:label="@string/app_name" >
            <intent-filter>
                <action android:name="android.intent.action.MAIN" />

                <category android:name="android.intent.category.LAUNCHER" />
            </intent-filter>
        </activity>
    </application>

</manifest>
Strings.xml:
<?xml version="1.0" encoding="utf-8"?>
<resources>

    <string name="app_name">Activity</string>
    <string name="menu_settings">Settings</string>

</resources>
Styles.xml:
<resources>

    <!--
        Base application theme, dependent on API level. This theme is replaced
        by AppBaseTheme from res/values-vXX/styles.xml on newer devices.
    -->
    <style name="AppBaseTheme" parent="android:Theme.Light">
        <!--
            Theme customizations available in newer API levels can go in
            res/values-vXX/styles.xml, while customizations related to
            backward-compatibility can go here.
        -->
    </style>

    <!-- Application theme. -->
    <style name="AppTheme" parent="AppBaseTheme">
        <!-- All customizations that are NOT specific to a particular API-level can go here. -->
    </style>

</resources>
Run the android application:
Android applications can be run on the android devices. You can either connect a hardware to the system to test the application or you can use the android virtual devices (AVD) Manager to create/manage the virtual devices running on emulator to run the application.
To run the application/ project, build your project using Project->Build Project.
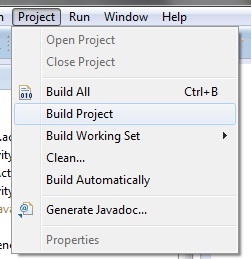
This will show errors in Console window at the bottom of the working area in case your project contains any errors.
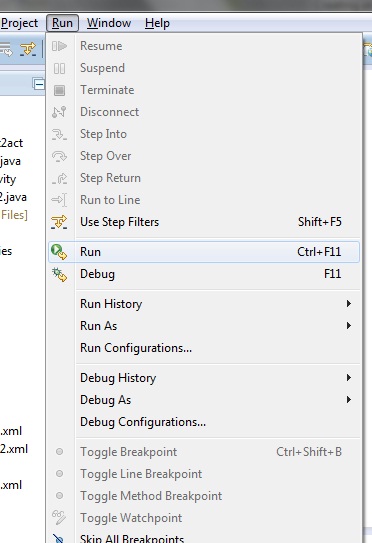
If your build is successful, Run your application using Run-> Run or Press Ctrl +F11.
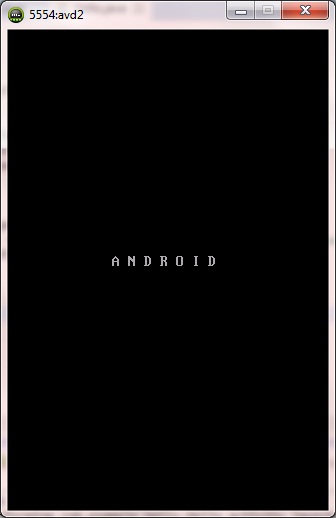
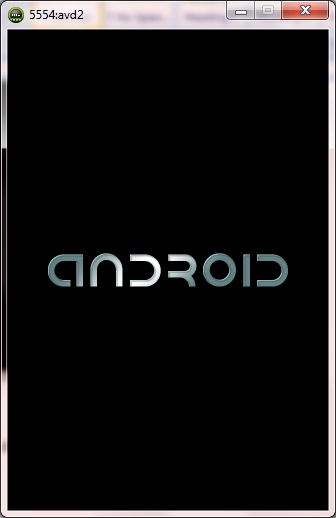
Upon running the application, the emulator will be launched which displays the AVD on your screen.
To test your application, unlock the screen and double click on your app.
Thus the android application project is executed successfully.
Click here to Share It..!!