Android – Hello World
In this tutorial we will be seeing,
1. How to create a new android application
2. How to create a simple activity?
Here you go!!!!

Before creating an android application using Eclipse, let us see some of the key terms involved while developing this application.
Key terms involved in this project:
Activity: An activity provides a user interface for a single screen in your application. The window typically fills the screen, but may be smaller than the screen and float on top of other windows. An application usually consists of multiple activities that are loosely bound to each other.
The tutorial is about creation of a simple activity/screen displaying a static text message which is visible to the user on the screen.
This project is developed in Eclipse 4.2 (Juno) and tested with Android 2.2
Follow the below steps to create a project in Eclipse:
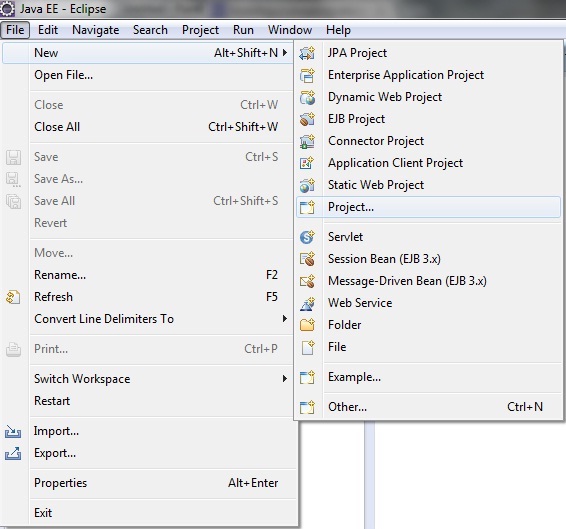
Step 1: Click on File ->New -> Project as shown in the figure below. ‘Select a wizard’ appears.
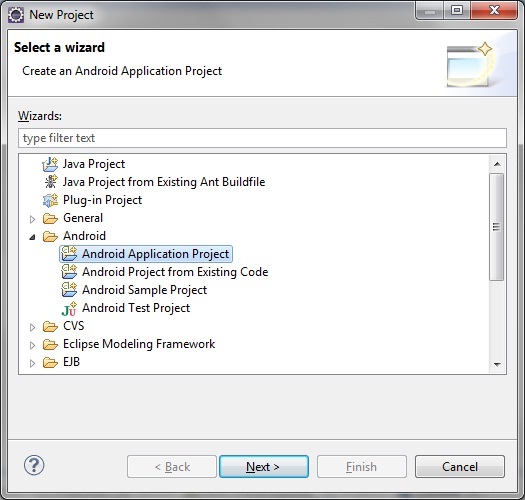
Step 2: Now Select a wizard window appears. This wizard allows us to select various project types such as Android application project, EJB (Java project), etc., Click on Android Application Project available under Android folder in this window. Click on Next.
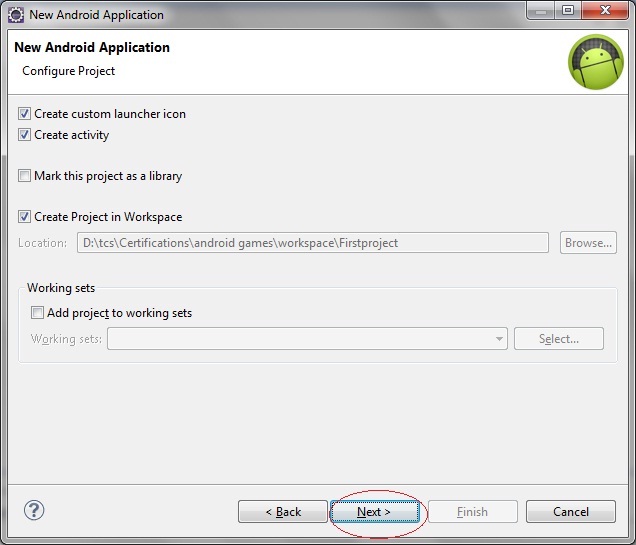
Step 3: New Android Application (Configure Project) window appears. This window allows you to create project in specified workspace. Don’t modify anything in this window and just click on Next.
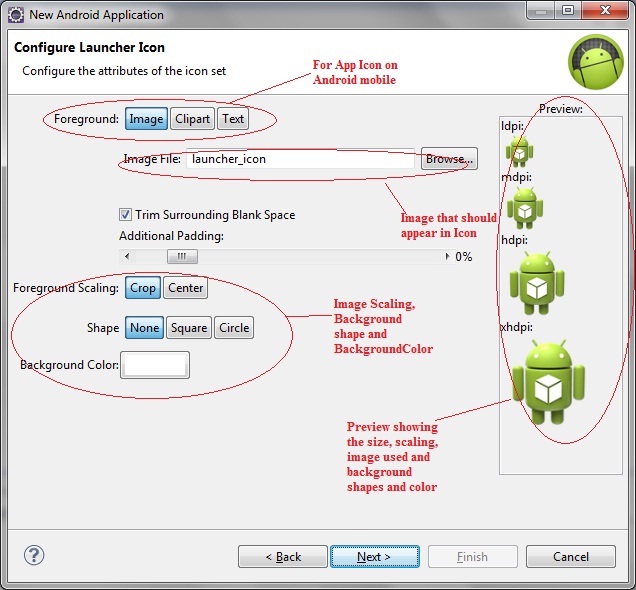
Step 4: Configure Launcher Icon appears as shown in below figure. This window allows you to set the Foreground image/ Clipart/Text, its scaling, shape and background color to appear once application is installed in your system. Preview is also shown here.
Choose the options available in the window based on the description provided in the image and Click on Next.
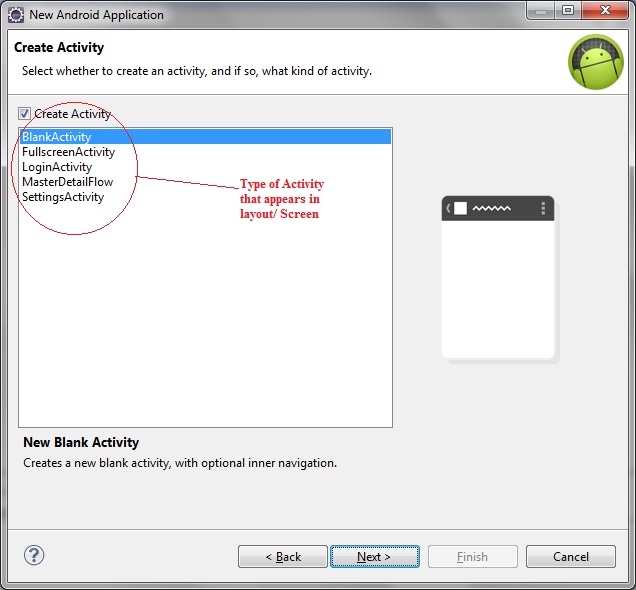
Step 5: Create Activity window appears. This window allows you to select an Activity (screen for UI) in your layout. Choose Blank Activity option and Click on Next.
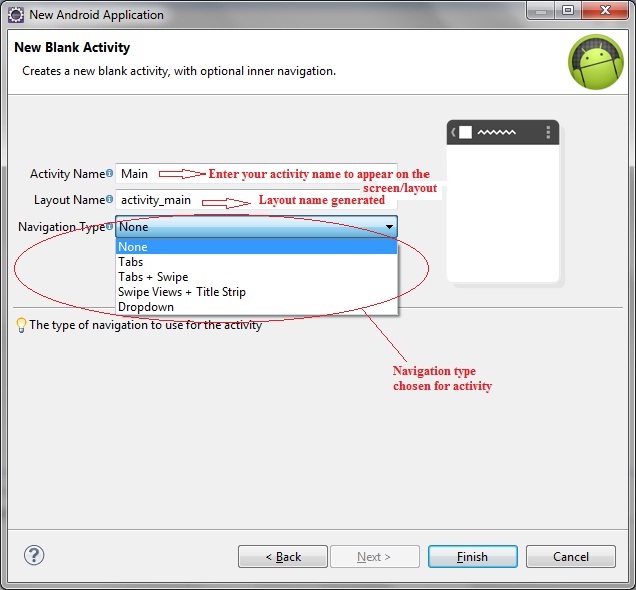
Step 6: Now Activity details such as Activity name, Layout Name and Navigation type should be entered as shown in the below figure. Clicking on Finish creates a new project with many panes.
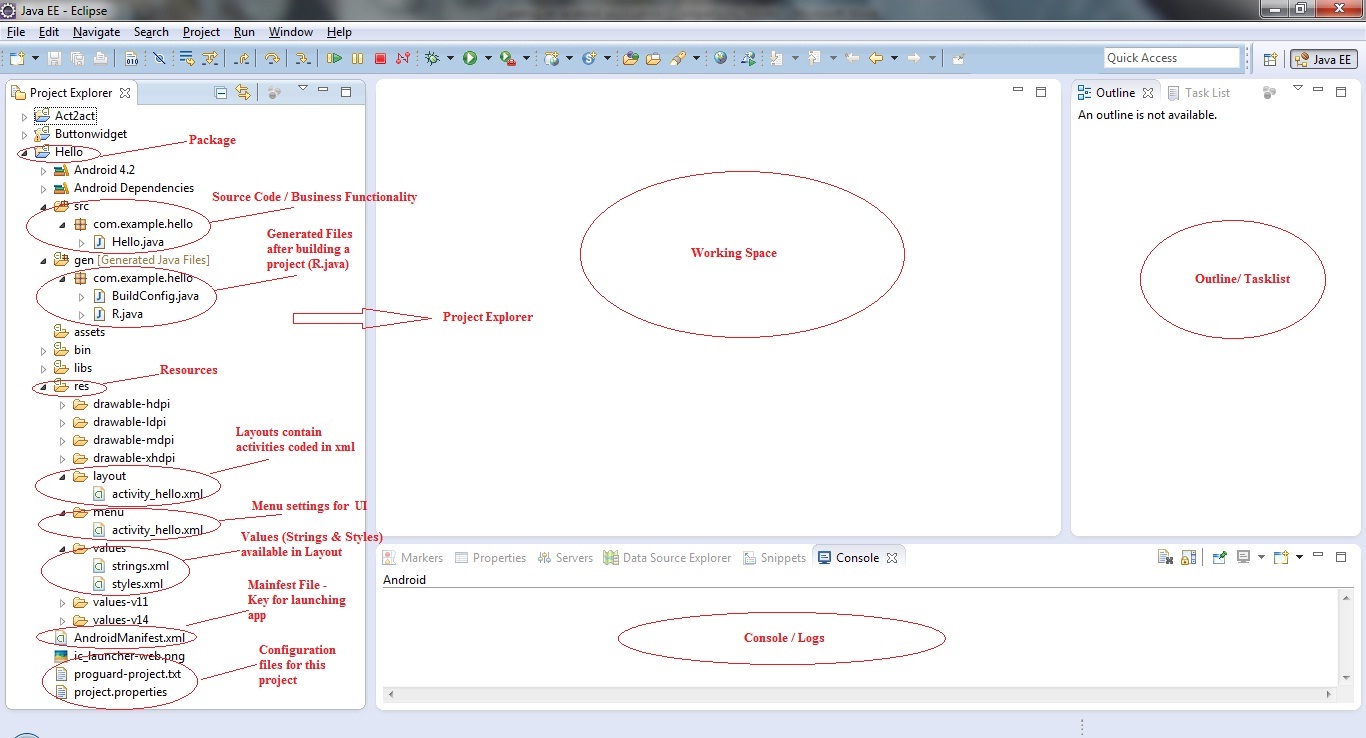
The various folders/files available in Eclipse (Above image) that are important in android development are:
- src
- gen
- assets
- libs
- res
- menu
- values
- Android Manifest.xml
- Configuration files
- src (Source Code) – This is where the Java source code is placed. The Java files are organized into packages that directly map to the folder structure. For eg: src/com.example.hello/Hello.java.
- gen – Android tools generate code to map resources into the Java code. This generated code is placed in this folder. This folder contains R.java file which is generated after building any android application project. This particularly powerful with the code-completion features of IDEs like Eclipse because it lets you quickly and interactively locate the specific reference you are looking for. Additionally you gain compile-time safety that the resource you want to use really exists.
- assets – The assets folder is empty by default. This folder is used to store raw asset files. A raw asset file could be one of many assets you may need for the application to work. For example, A file that contains data in a proprietary format for consumption on the device. Android has Asset Manager which can return all the assets currently in the assets directory. If you were to create an application that had its own dictionary for word look-ups, you may want to bundle this dictionary into the project by placing the dictionary file in the assets directory.
- lib - This folder contains library files in case of multimedia, user info and location apps, etc.,
- res – This folder contains all the resources required like images, layouts and values. Resources are external files(non-code files) that are used by your code and compiled into your application at build time. Android Supports a number of different kinds of resources files, including XML,PNG and JPEG files. The XML files have very different formats depending on what they describe. Resources are externalized from source code, and XML files are compiled into a binary, fast loading format for efficiency reasons. Strings are compressed into a more efficient storage form.
Coding:
Now let’s go to the coding section. This project requires following files.
Source Code:
- Hello.java Activity (main screen)
Activity Files:
- activity_hello.xml – main screen/ layout
res – Values:
- Strings.xml – strings available in layout/activity
Manifest file:
- AndroidManifest.xml
Hello.java:
package com.example.hello;

import android.os.Bundle;
import android.app.Activity;
import android.view.Menu;

public class Hello extends Activity {

	@Override
	protected void onCreate(Bundle savedInstanceState) {
		super.onCreate(savedInstanceState);
		setContentView(R.layout.activity_hello);
	}

	@Override
	public boolean onCreateOptionsMenu(Menu menu) {
		// Inflate the menu; this adds items to the action bar if it is present.
		getMenuInflater().inflate(R.menu.activity_hello, menu);
		return true;
	}

}
activity_hello.xml:
<RelativeLayout xmlns:android="http://schemas.android.com/apk/res/android"
    xmlns:tools="http://schemas.android.com/tools"
    android:layout_width="match_parent"
    android:layout_height="match_parent"
    tools:context=".Hello" >

    <TextView
        android:layout_width="wrap_content"
        android:layout_height="wrap_content"
        android:layout_centerHorizontal="true"
        android:layout_centerVertical="true"
        android:text="@string/hello_world" />

</RelativeLayout>
Menu : activity_main.xml
<menu xmlns:android="http://schemas.android.com/apk/res/android" >
    <item
        android:id="@+id/menu_settings"
        android:orderInCategory="100"
        android:showAsAction="never"
        android:title="@string/menu_settings"/>
</menu>
AndroidManifest.xml:
<?xml version="1.0" encoding="utf-8"?>
<manifest xmlns:android="http://schemas.android.com/apk/res/android"
    package="com.example.hello"
    android:versionCode="1"
    android:versionName="1.0" >

    <uses-sdk
        android:minSdkVersion="8"
        android:targetSdkVersion="16" />

    <application
        android:allowBackup="true"
        android:icon="@drawable/ic_launcher"
        android:label="@string/app_name"
        android:theme="@style/AppTheme" >
        <activity
            android:name="com.example.hello.Hello"
            android:label="@string/app_name" >
            <intent-filter>
                <action android:name="android.intent.action.MAIN" />

                <category android:name="android.intent.category.LAUNCHER" />
            </intent-filter>
        </activity>
    </application>

</manifest>
Strings.xml:
<?xml version="1.0" encoding="utf-8"?>
<resources>

    <string name="app_name">Hello</string>
    <string name="hello_world">Hello world!</string>
    <string name="menu_settings">Settings</string>

</resources>
Styles. xml:
<resources>

    <!--
        Base application theme, dependent on API level. This theme is replaced
        by AppBaseTheme from res/values-vXX/styles.xml on newer devices.
    -->
    <style name="AppBaseTheme" parent="android:Theme.Light">
        <!--
            Theme customizations available in newer API levels can go in
            res/values-vXX/styles.xml, while customizations related to
            backward-compatibility can go here.
        -->
    </style>

    <!-- Application theme. -->
    <style name="AppTheme" parent="AppBaseTheme">
        <!-- All customizations that are NOT specific to a particular API-level can go here. -->
    </style>

</resources>
Run the android application:
To create an android virtual device using AVD Manager follow the steps available in AVD creation using AVD Manager tutorial.
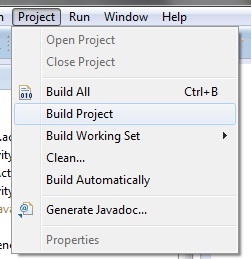
To run the application/ project, Build your project using Project –> Build Project.
This will show errors in Console window at the bottom of the working area in case your project contains.
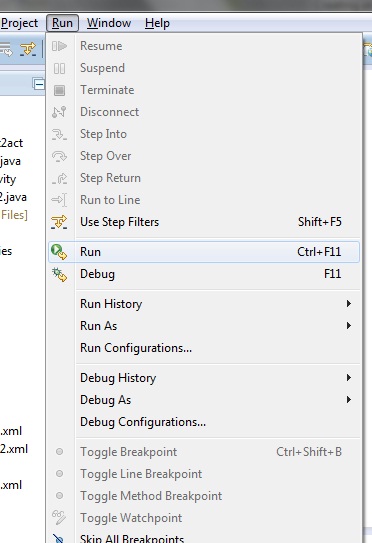
If your build is successful, Run your application using Run –> Run or Press Ctrl +F11.
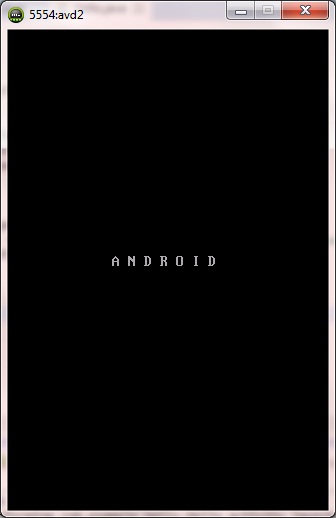
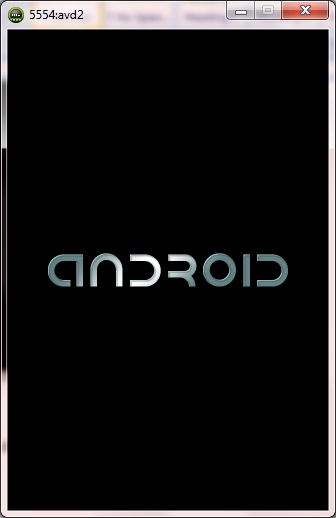
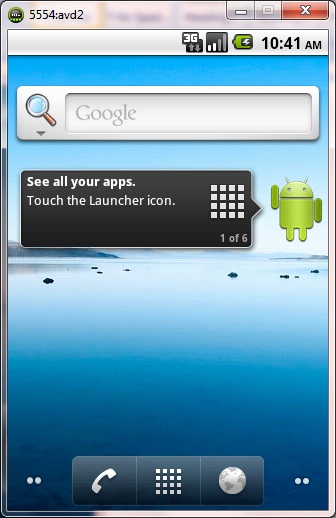
Upon running the application, the emulator will be launched which displays the AVD on your screen.
You can see your app with the image set during the android project creation in AVD.
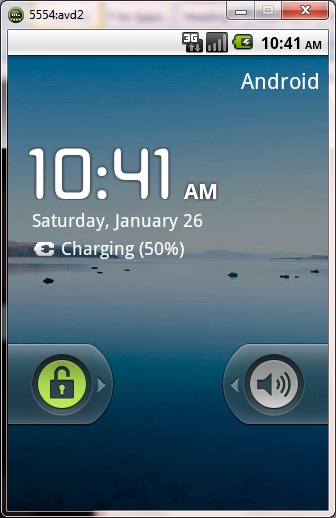
To test your application, double click on your app.

Thus the android application project is executed successfully.
Click Here To Share This..!!
Share