Running functional tests from the command-line
Running functional tests from the command-line is straightforward and simple using the included testrunner.bat/.sh script, which takes a number of arguments to control which tests to run, output, etc:
- e : The endpoint to use when invoking test-requests, overrides the endpoint set in the project file
- h : The host:port to use when invoking test-requests, overrides only the host part of the endpoint set in the project file
- s : The TestSuite to run, used to narrow down the tests to run
- c : The TestCase to run, used to narrow down the tests to run
- u : The username to use in any authentications, overrides any username set for any TestRequests
- p : The password to use in any authentications, overrides any password set for any TestRequests
- w : Sets the WSS password type, either ‘Text’ or ‘Digest’
- d : The domain to use in any authentications, overrides any domain set for any TestRequests
- r : Turns on printing of a small summary report (see below)
- f : Specifies the root folder to which test results should be exported (see below)
- j : Turns on exporting of JUnit-compatible reports, see below
- a : Turns on exporting of all test results, not only errors
- : Opens the generated report in a browser (SoapUI Pro only)
- i : Enables SoapUI UI-related components, required if you use the UISupport class for prompting or displaying information
- t : Sets the soapui-settings.xml file to use, required if you have custom proxy, ssl, http, etc setting
- x : Sets project password for decryption if project is encrypted
- v : Sets password for soapui-settings.xml file
- D : Sets system property with name=value
- G : Sets global property with name=value
- P : Sets project property with name=value, e.g. -Pendpoint=Value1 -PsomeOtherProperty=value2
- S : Sets to save the project file after tests have been run
- I : Do not stop if error occurs, ignore them
- R : Selects which report to generate for the test objects executed, for example if running the entire project, this could specify the name of a test-suite-level report that would be generated for each TestSuite. The report is saved as specified with the -F option to the folder specified with the -f option. (SoapUI Pro only)
- F : Sets the format of the report specified with the -R option, for Printable reports this is one of PDF, XLS, HTML, RTF, CSV, TXT, and XML. For Data Export this is either XML or CSV (SoapUI Pro only)
- g : Sets the output to include Coverage HTML reports ( SoapUI Pro only )
- E : Sets which environment to use (SoapUI Pro only)
Launching the TestRunner from within SoapUI
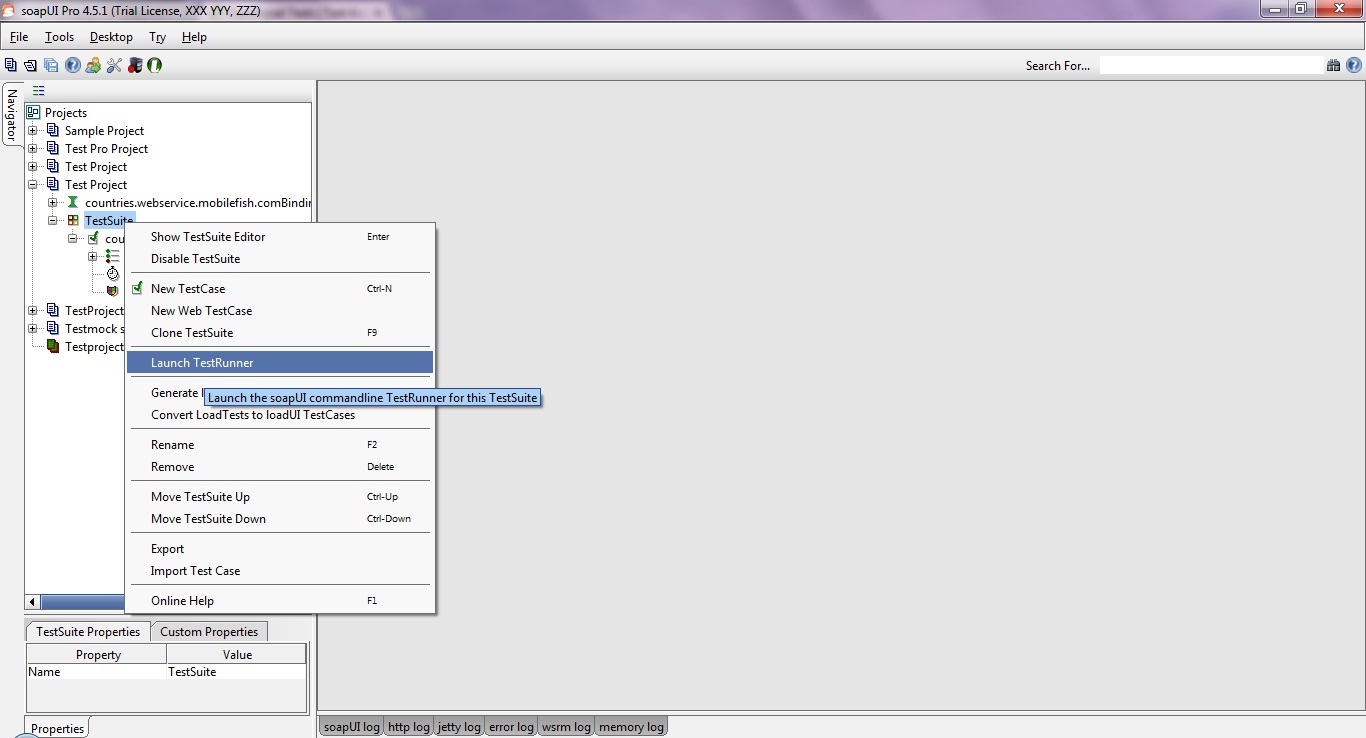
Before getting started, with the command line testrunner, SoapUI includes a “Launch TestRunner” action available from Project, TestSuite or TestCase popup menus, which launches the bundled command-line tools from inside SoapUI.
The IDE plugins do not include these runners, you will need to download/install SoapUI seperately and point the “TestRunner Path” option in this dialog to the install directory).
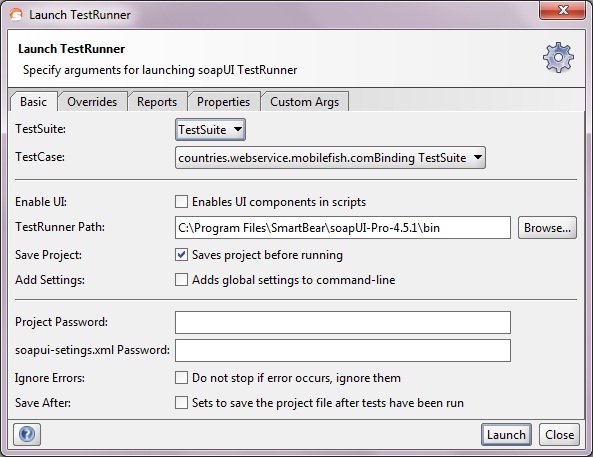
The dialog looks as follows:

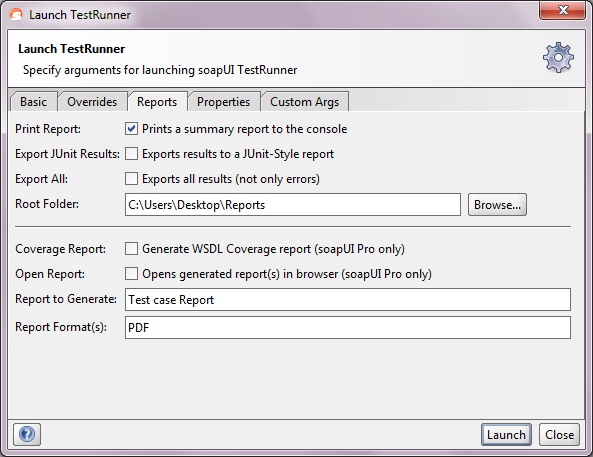
Here we’ve specified some initial settings to run the current TestCase, in the Report tab we can specify which reports to generate:
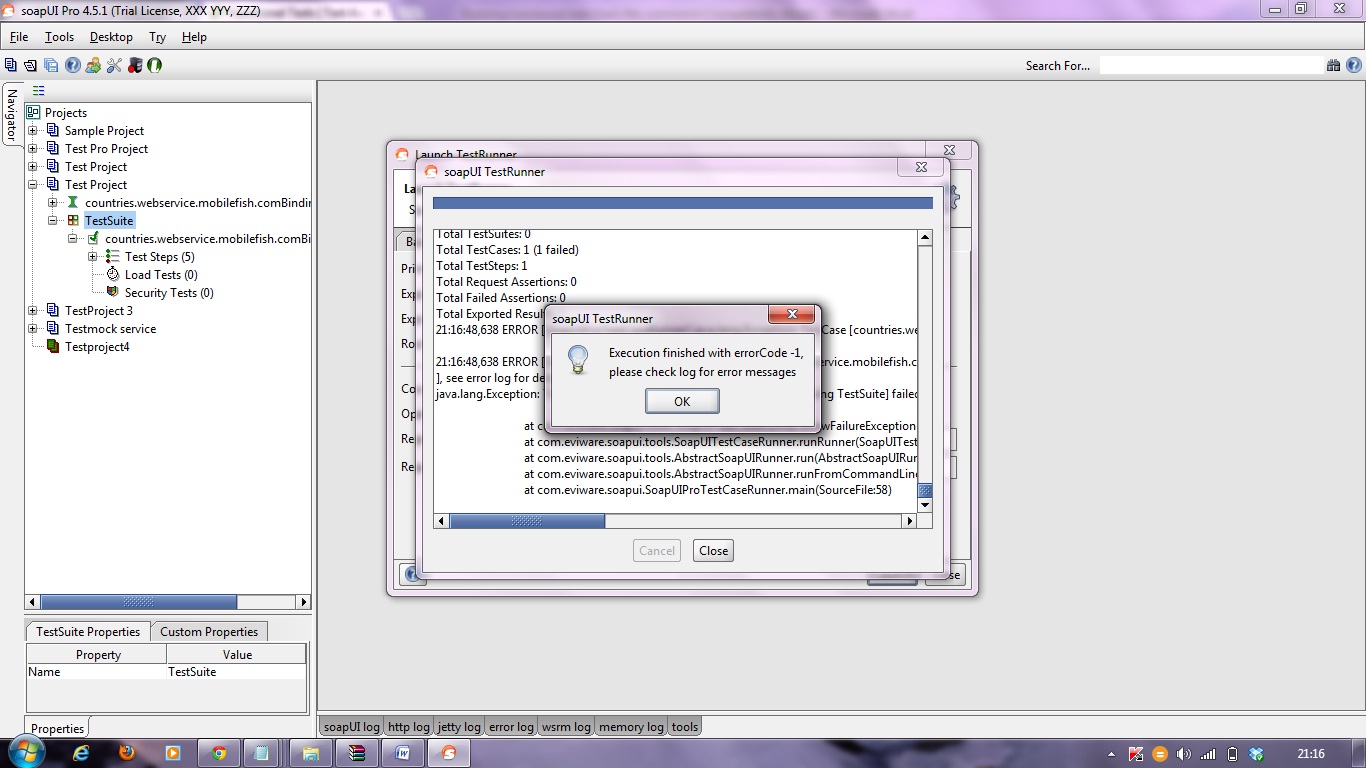
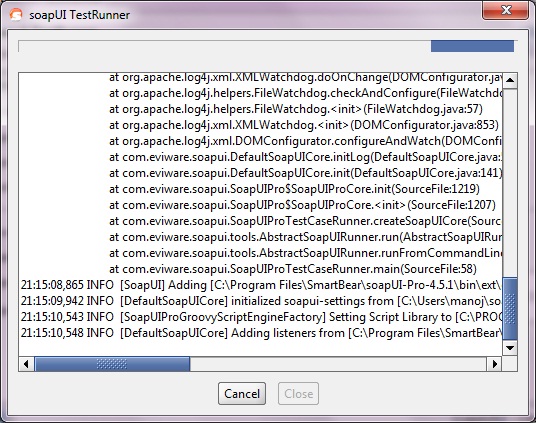
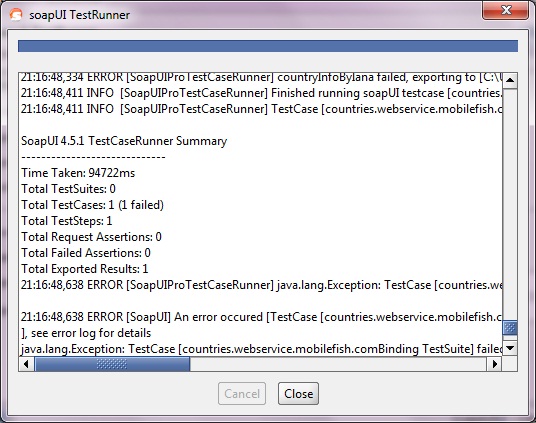
Now if we run the testrunner we get:
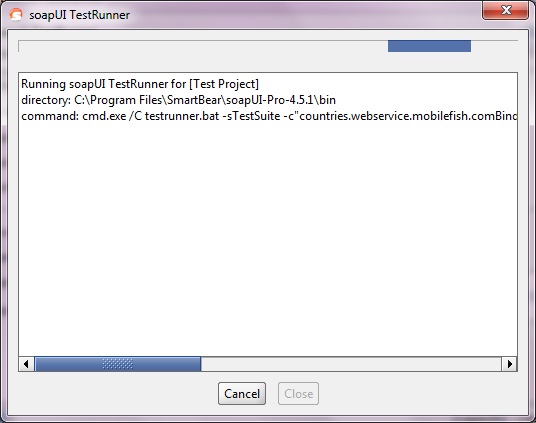
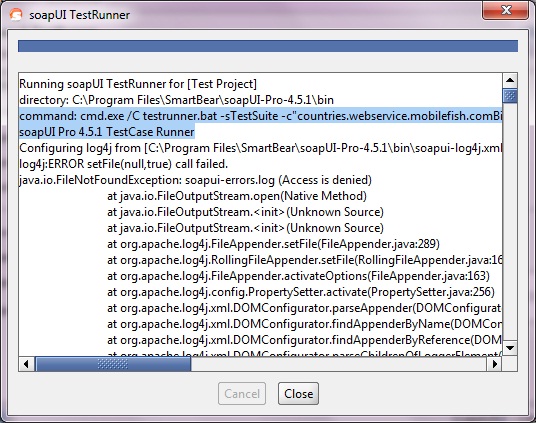
Scrolling back up in the opened window we can see the actual command issued at the command-line:
Copy and paste the below highlighted into your favorite automation tool for rerun these tests as configured.
That is all!!! ;)