Spring Environment Setup

In this section, you will see about setting up Eclipse IDE to get started with our code development works, installing the latest JDK a, setting the environment variables and adding the required JARs for running of some basic Spring based applications.
Step 1. Download and install Eclipse IDE of your preference. For Eclipse IDE installation instructions, you can refer here.
eclipse IDE installation instructions
Step 2. Download the latest JDK, as per your system requirements from here
Step 3. Set the environment variables in your system
Right click on MyComputer -> Properties. On the left side pane, choose Advanced System Settings.
** UPDATE: Spring Complete tutorial now available here.
A window opens up. Choose Advanced tab on this and click on Environment Variables button
Environment Variable window opens up. In the system variables, select New.
Provide the variable name – JdkHome(this name can differ)
variable value – C:Program FilesJavajdk1.7.0_11bin . The provided location is the path where the bin folder under JDK is present.
Click ok
Now your eclipse is well set.
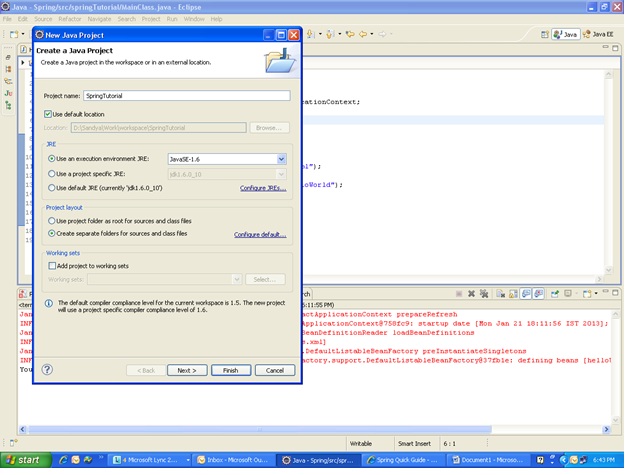
Step 4 : Now that your Integrated Development Environment(IDE) is ready. Let us create a project.
Select File ->New->Java project
Provide an appropriate name.
Step 5 : Download the required JAR files. Find below the list of JAR files that will be made use of, over various stages of this tutorial.
Spring Basic jars
- antlr-runtime-3.0.1
- org.springframework.aop-3.1.0.M2
- org.springframework.asm-3.1.0.M2
- org.springframework.aspects-3.1.0.M2
- org.springframework.beans-3.1.0.M2
- org.springframework.context.support-3.1.0.M2
- org.springframework.context-3.1.0.M2
- org.springframework.core-3.1.0.M2
- org.springframework.expression-3.1.0.M2
- commons-logging-1.1.1
- cglib-2.2
- aopalliance
- asm-3.3.1
- aspectjweaver
Step 6 : Right click on your project. Select Build path->Configure Build path.
On the libraries tab, choose Add external libraries. Here browse and add the list of JARs downloaded as per the previous step. Click ok
Thats it! You are now all set to start trying out hands-on exercises using spring !!